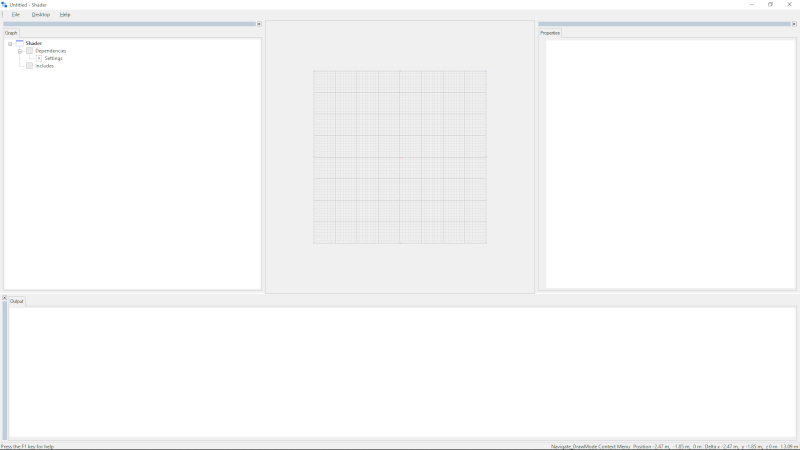
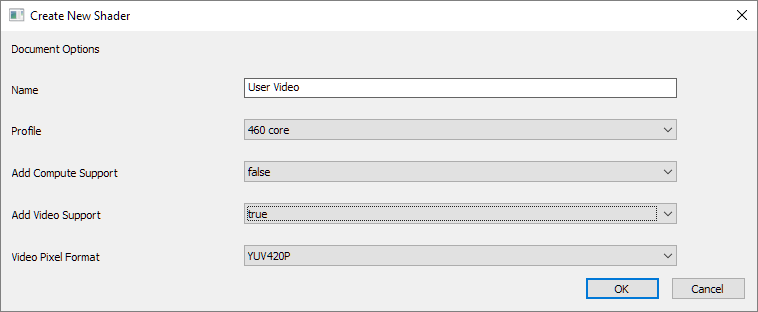
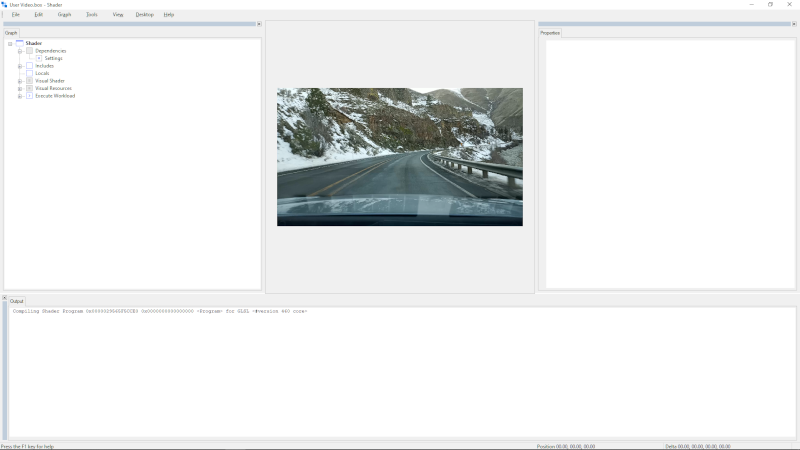
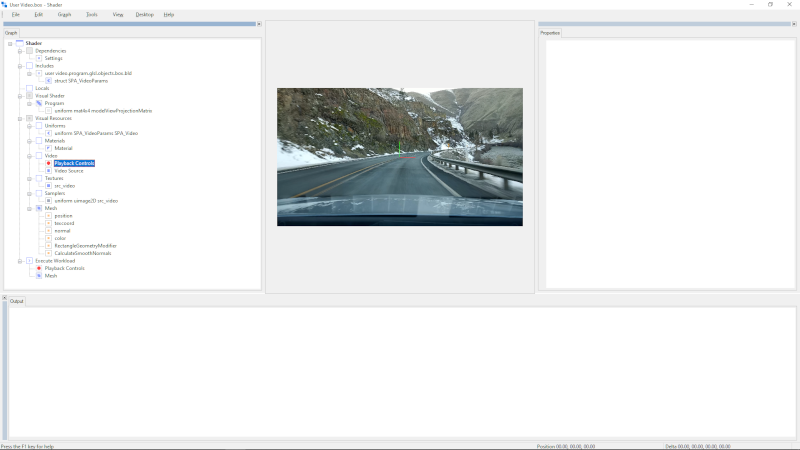
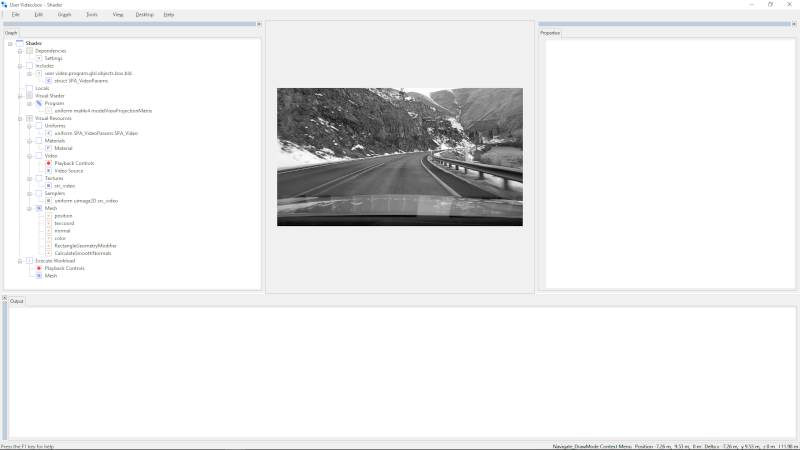
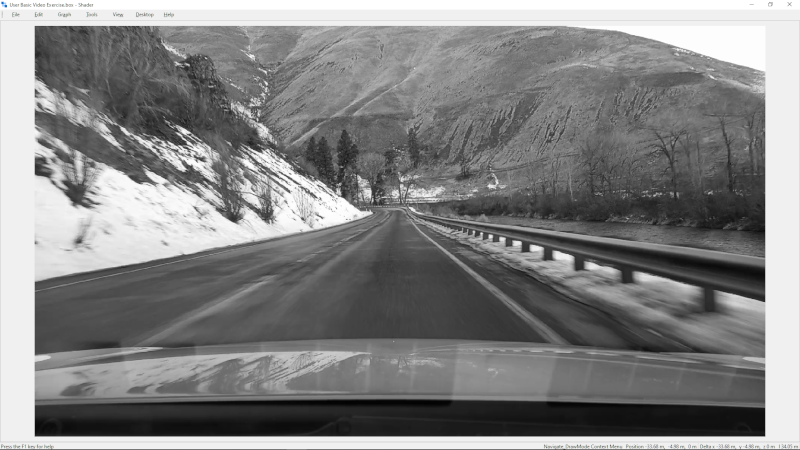
In this exercise you'll learn to create a document that modifies a video stream. At the end, you will have a fragment
shader that converts the video stream Y values to gray scale. This makes it possible to use only the intensity values
instead of writing shaders that have to work in RGBA colorspace. This exercise requires your GPU to support GLSL version
300 or higher.
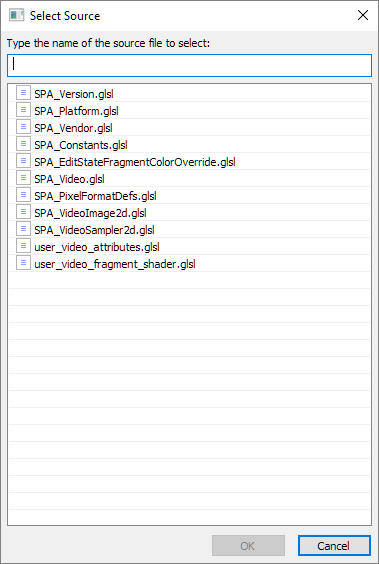
- Start a text editor of your choice and select the option to open a file from disk.
-
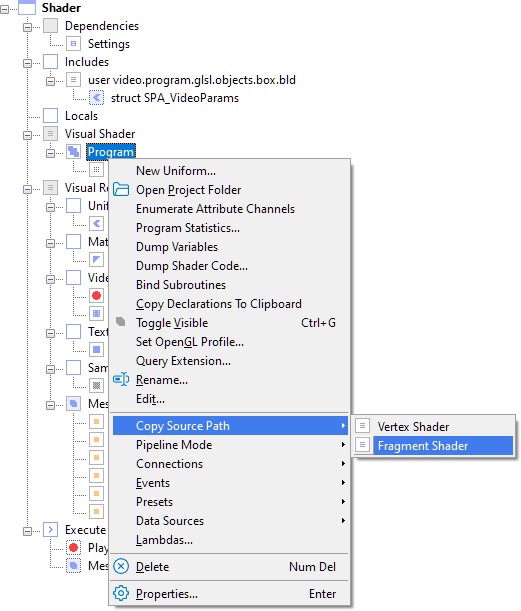
Select CTRL + V to paste the fragment shader file path (into the place in the dialog where you specify the file to open) and open the file.
This is the fragment shader. Note that your #version 460 declaration might be different, depending on the highest GLSL version on your machine.
// #version 460
// The version number is automatically injected by the application.
// It is included above for reference purposes only.
#ifdef GL_EXT_shader_image_load_formatted
   #extension GL_EXT_shader_image_load_formatted : enable
#endif

#include <SPA_Version.glsl>
#include <SPA_Constants.glsl>
#include <Modules/SPA_EditStateFragmentColorOverride.glsl>
#include <SPA_Video.glsl>
#include "user_video_attributes.glsl"

#ifndef GL_EXT_shader_image_load_formatted
   uniform usampler2D src_video;
#else
   uniform uimage2D src_video;
#endif

in Data { vertexData attributes; } DataIn;
out vec4 fragColor;

void main(void)
{
   ivec2 luma_coord;
   ivec2 u_coord;
   ivec2 v_coord;

   SPA_VideoGetYuvCoords( src_video, DataIn.attributes.texcoord, luma_coord, u_coord, v_coord );
   uvec3 src_color = SPA_VideoSamplePixel( src_video, luma_coord, u_coord, v_coord );
   vec4 diffuse = vec4( SPA_VideoPixelToRGB( src_color ), 1.0 );

   fragColor = diffuse;
   SPA_EditStateFragmentColorOverride( fragColor );
}
-
Replace the entire fragment shader body with the following code:
Copy Text To Clipboard
void main(void)
{
   ivec2 luma_coord;
   ivec2 u_coord;
   ivec2 v_coord;

   SPA_VideoGetYuvCoords( src_video, DataIn.attributes.texcoord, luma_coord, u_coord, v_coord );
   uvec3 src_color = SPA_VideoSamplePixel( src_video, luma_coord, u_coord, v_coord );

   uint intensity_scaled = ( src_color.x - SPA_Video.color_range.x ) * uint( 255 ) /
      ( SPA_Video.color_range.y - SPA_Video.color_range.x );

   fragColor = vec4( intensity_scaled ) / 255.0;
   SPA_EditStateFragmentColorOverride( fragColor );
}
- Save the fragment shader in your text editor.
-
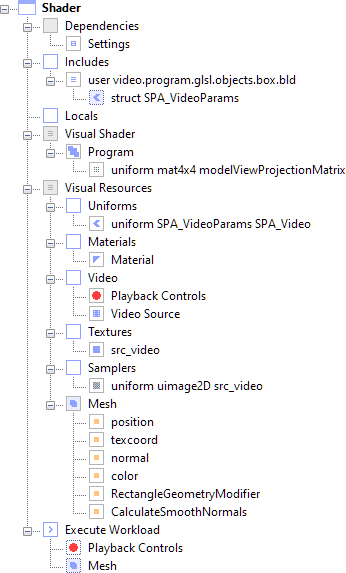
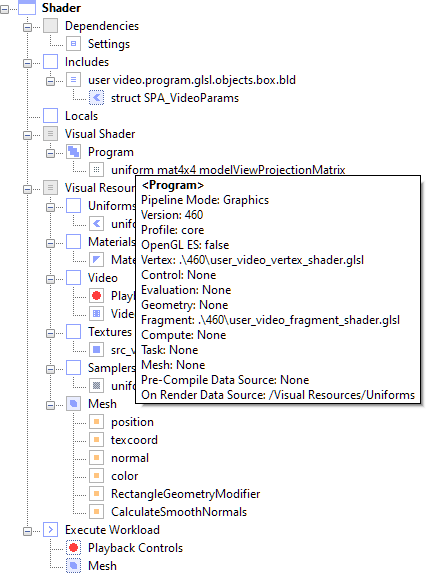
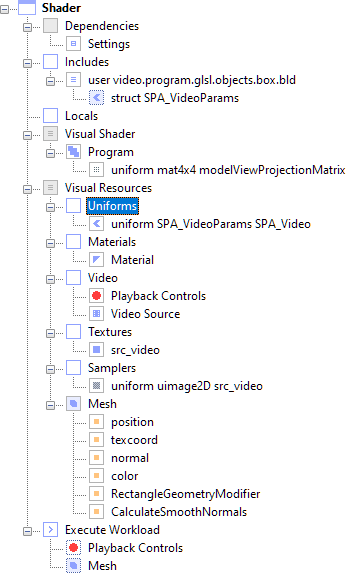
Examine the hierarchy and find the <UniformPaletteNode> named Uniforms.
Inside you'll notice a <StructInstanceNode> named uniform SPA_VideoParams SPA_Video.
This represents an instance of a struct, and it contains all struct members.

You'll notice that it's
declared as a uniform, which means that the software is going to set this object's members and values
as uniforms (also known as shader constants). It's important to know how to make changes to
<StructInstanceNode> objects, and it's also important to know when you can't make changes (and why).
Here's the struct as declared in the GLSL source code.
struct SPA_VideoParams
{
   int pixel_format;
   ivec4 frame_size;
   // For plane_layout:
   // xy is the plane offset in pixels.
   // zw is the size of the plane in pixels.
   ivec4 plane_layout[4];
   mat3 color_matrix;
   ivec4 color_range;
   vec3 mesh_min;
   vec3 mesh_max;
   ivec2 aspect_ratio;
   vec4 background_color;
};

uniform SPA_VideoParams SPA_Video;
- Examine the hierarchy and double click the <StructInstanceNode> named uniform SPA_VideoParams SPA_Video.
This displays node properties in the property editor.
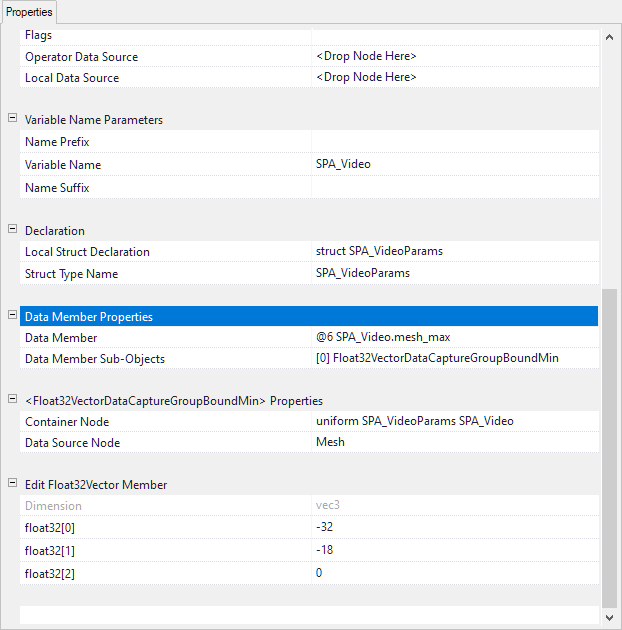
- Scroll down until you find the property group named Data Member Properties.
(We've highlighted the correct property heading in the image below. Your property heading won't be highlighted.
You also might not see the same properties right away, but we'll select the correct properties next.)

- Find the property field named Data Member.
Note that this property field has two columns.
- Left click the right column and select @0 SPA_Video.pixel_format from the listed options.
It might take the property sheet a moment to update.
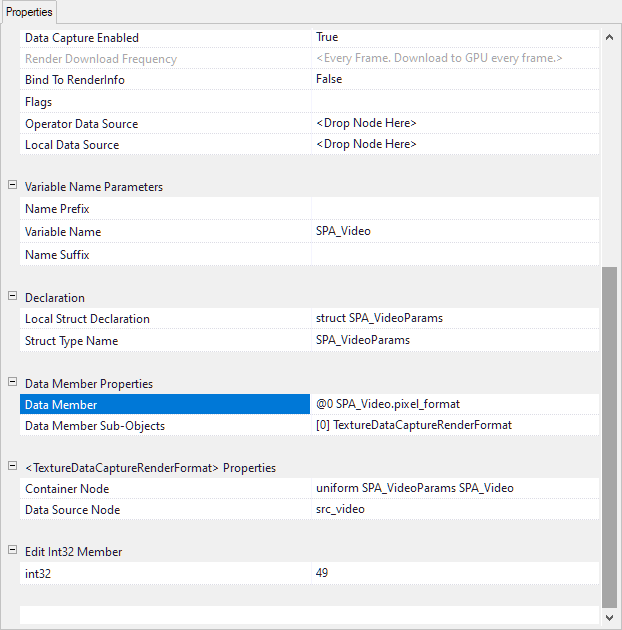
This <StructInstanceNode> contains a <TextureDataCaptureRenderFormat> object. You can
see two properties in the property group: Container Node and Data Source Node. The Container Node property
shows that the <TextureDataCaptureRenderFormat> object is contained by uniform SPA_VideoParams SPA_Video.
In other words, it's contained by the node whose properties we're examining. The Data Source Node property shows
that the <TextureDataCaptureRenderFormat> object is capturing data from the <Texture>
named src_video. If needed, you can edit the Container Node and Data Source Node values here,
but that isn't recommended unless you have set up the capture yourself, or if you understand exactly how the
capture is supposed to work.
Finally, at the end of the property sheet, you can see the property group named Edit Int32 Member. This displays
the integer value (representing a pixel format) captured from the Data Source Node named src_video. The value 49 corresponds to the
enumerated constant IPF_YUV420, which can be found in TYPE_SERVICE_ENUMERATION_UTIL.SSL in the application scripts folder
(which is accessible from the main menu if you are curious.)
It's important to know that you can't edit the value 49 here because that value is being set by The
<TextureDataCaptureRenderFormat> object. In fact, you won't be able to edit any of the data members of
this struct because all the members of this struct are capturing data. However, you can see all the values, which
is essential if you're writing or debugging shader code.
- Examine the property sheet and find the property field named Data Member.
Note that this property field has two columns.
- Left click the right column and select @1 SPA_Video.frame_size from the listed options.
It might take the property sheet a moment to update.
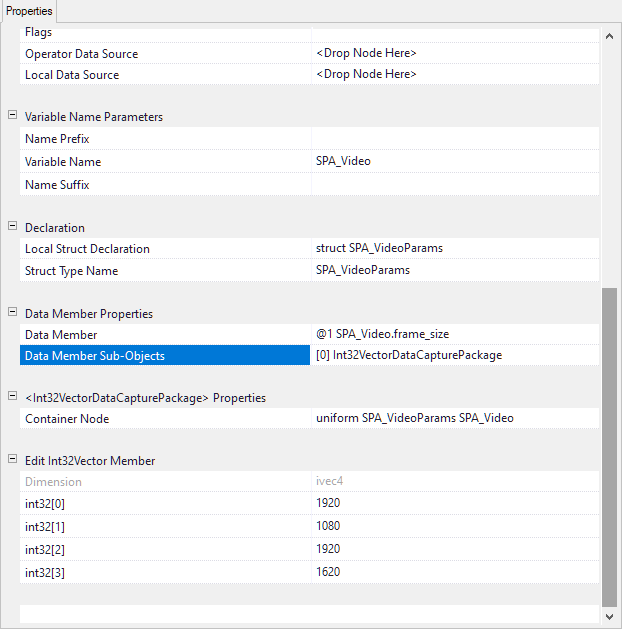
This <StructInstanceNode> contains an <Int32VectorDataCapturePackage> object.
This object is designed to hold <DataCapture> objects that let you set the value for each scalar
in an <Int32Vector>. This allows you to 'pack' a vector of integers (or floats or doubles) with values.
Indeed if you look at the end of the property sheet and find the property group named Edit Int32Vector Member,
you can see that all four components of the vector have been set to various values related to the size of the video frame.
For example: the property field int32[0], which represents the x component of the vector has a value of 1920.
This is the width of the video frame. The property field int32[1], which represents the y component of the vector has
a value of 1080. This is the height of the video frame. Finally, the last two components store the dimensions of
the video frame in terms of the dimensions of the underlying image planes. This strategy allows you to efficiently pack
uniforms.

- Examine the property sheet and find the property field named Data Member Sub-Objects.
Note that this property field has two columns.
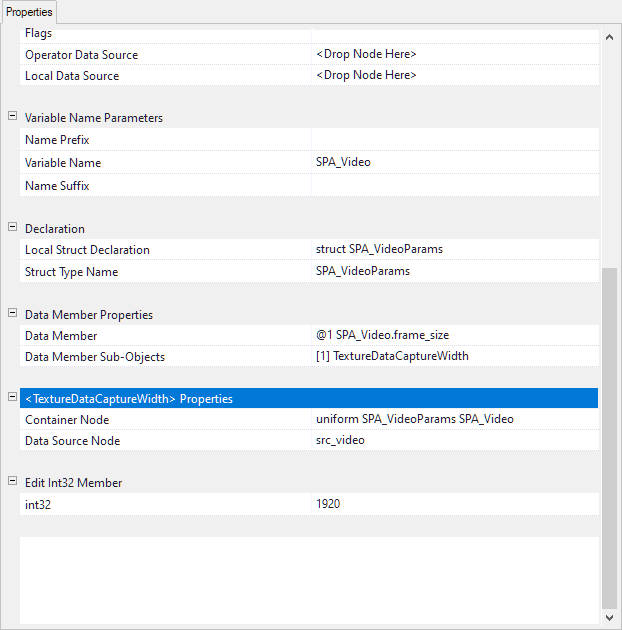
- Left click the right column and select [1] TextureDataCaptureWidth from the listed options.
It might take the property sheet a moment to update.
Here you can see the individual TextureDataCaptureWidth object that sets the x component
of the vector to the width of the video frame.

This review should give you enough familiarity to use these values as needed when writing
shaders for video processing. You can also customize this system in almost unimaginable ways,
but that is beyond the scope of this section.
