The software presents a dialog that allows you to choose which file to open.
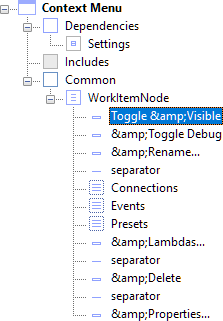
WorkItemNode ( Standard ) Context Menu.box
The software displays a text entry dialog that allows you to enter a Simdify command macro GUID.
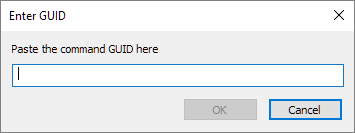
{AB4A7F29-3197-481A-9B4B-10455AE45AE9}The dialog appears again in case we wish to enter another GUID.
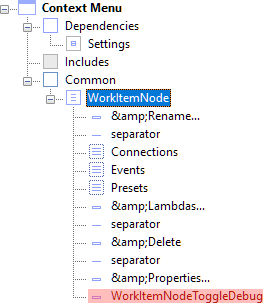
The software creates a new <ItemElementNode> named WorkItemNodeToggleDebug and places it at the end of the list of menu items. This is the new Simdify command macro!
The software displays a dialog box that allows you to rename the node.

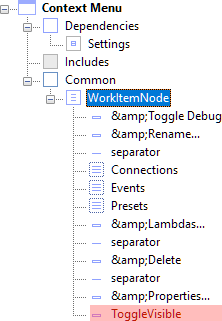
&Toggle DebugThe software renames the node. Using & before T sets the accelerator key to T, which means you can hit T when this menu is visible to execute this command.

This moves the node to the top of the list of menu items.

The software displays a text entry dialog that allows you to enter a Simdify command macro GUID.
{1F91F995-F612-46D4-A453-4B81096121A9}The dialog appears again in case we wish to enter another GUID.
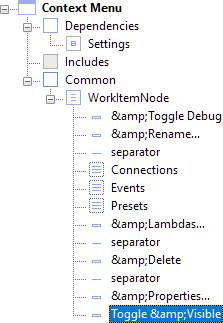
The software creates a new <ItemElementNode> named ToggleVisible and places it at the end of the list of menu items.
The software displays a dialog box that allows you to rename the node.
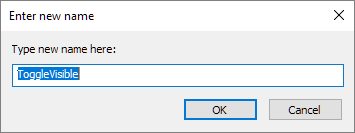
Toggle &VisibleThe software renames the node. Using & before V sets the accelerator key to V, which means you can hit V when this menu is visible to execute this command.
This moves the node to the top of the list of menu items.